As you may remember, one of my goals for 2020 was to use up some of my fabric stash. This first item, a cosy twist snood tutorial, is for my daughter and it’s a nice simple one. This snood only took me an hour to make, including taking all the photos.
While I was doing my Christmas shopping last November, I came across this lovely snood. I thought it would be perfect for her because it was her colours and it looked really cosy.
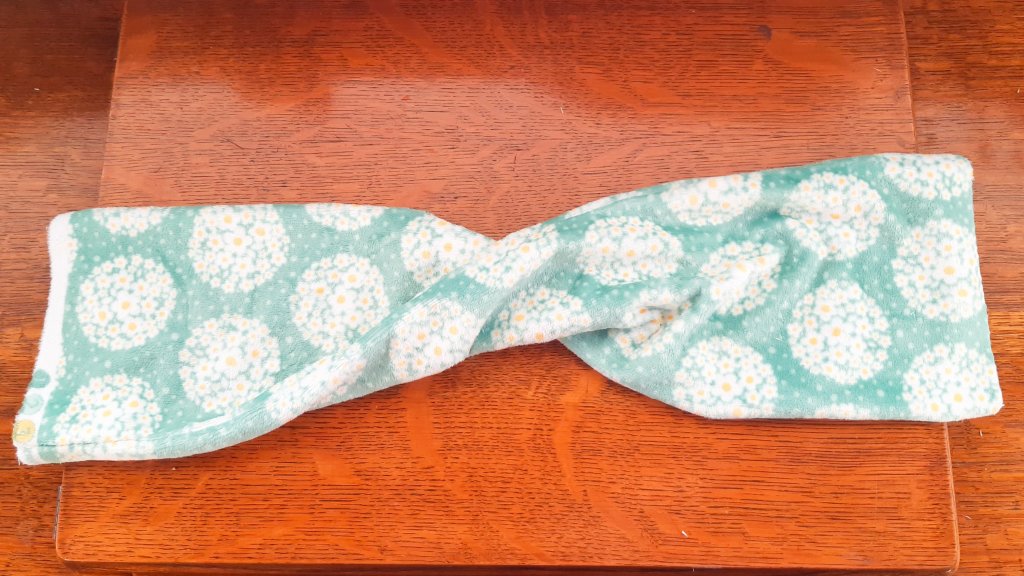
One detail I really liked was the twist in the front, it made it look less bulky than a simple cylindrical shape.

As per usual, I thought “I have fabric in the cupboard, I can make her one instead”. So here we are with this cosy twist snood tutorial!
When she was one, I sewed her a wee coat with a super soft mint minky lining I had bought from Plush Addict. The leftovers have been in my cupboard ever since and this cosy project is perfect for using up what remains.

This snood project would also be great for repurposing old jumpers. You could even use smaller pieces from jumper arms and other cosy scraps to create a stripy version.
The twist could also easily be omitted to line an itchy wool with soft fleece, for example.
My recommendation would be to use a sturdy fabric that can hold it’s shape quite well, jersey (t-shirt fabric) would be too thin and floppy, so something like fleece or a chunky knit jumper is ideal.
How to Make a Cosy Twist Snood
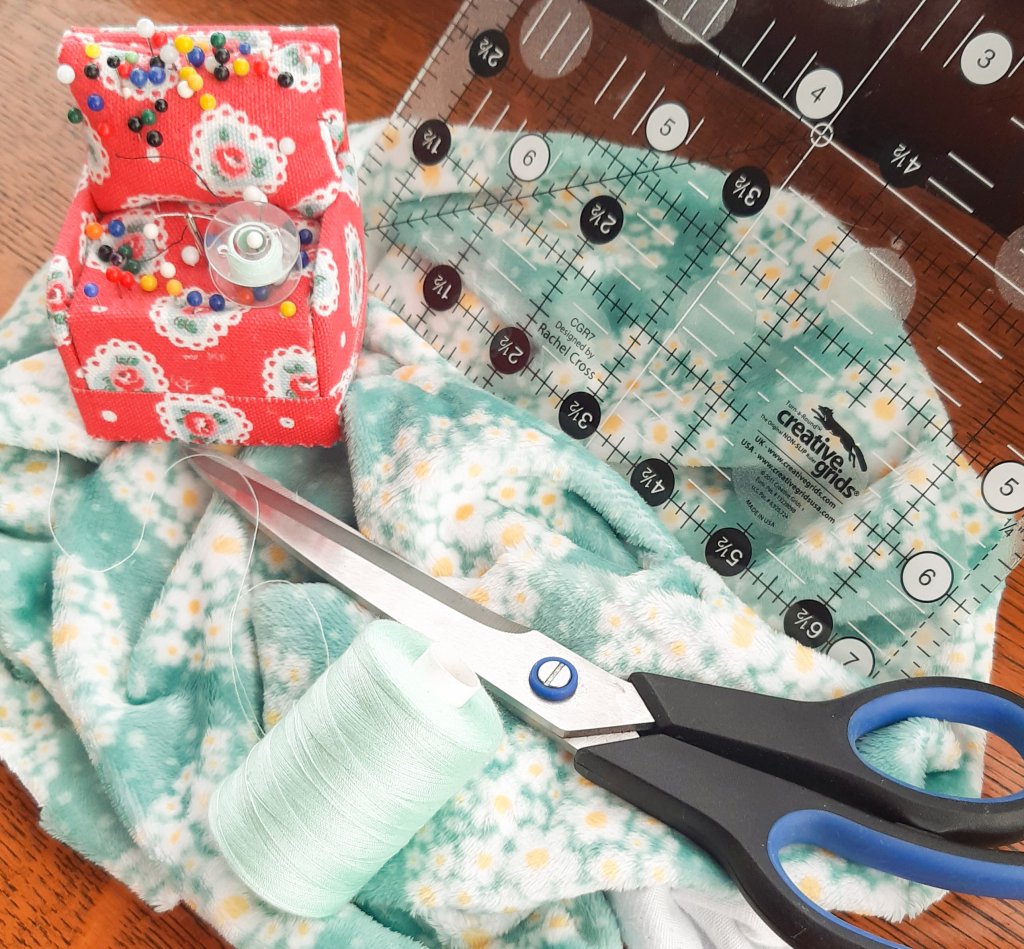
Tools Required:
Sharp scissors, measuring tape/ruler, matching thread, pins, sewing machine with regular presser foot. Needles, if you fancy sewing it by hand.
Time Required: Under an hour
Fabric Requirements to make a child sized snood:
Twist Snood
Cut fabric rectangle 23″ × 13”
Alternative 1
Cut 2 fabric rectangles 23” x 7”
Alternative 2 (great for repurposing or scrap busting!)
Sew several 10” tall pieces together (minimum 3” width) to make a 23” length of fabric.
For both alternative options, sew pieces together to create a 23″ by 13″ rectangle and follow the instructions below, omitting the twist if desired.
Instructions
1. Fold the one short edge over 3/4″ and press if your fabric is suitable, if not, skip this step for now.
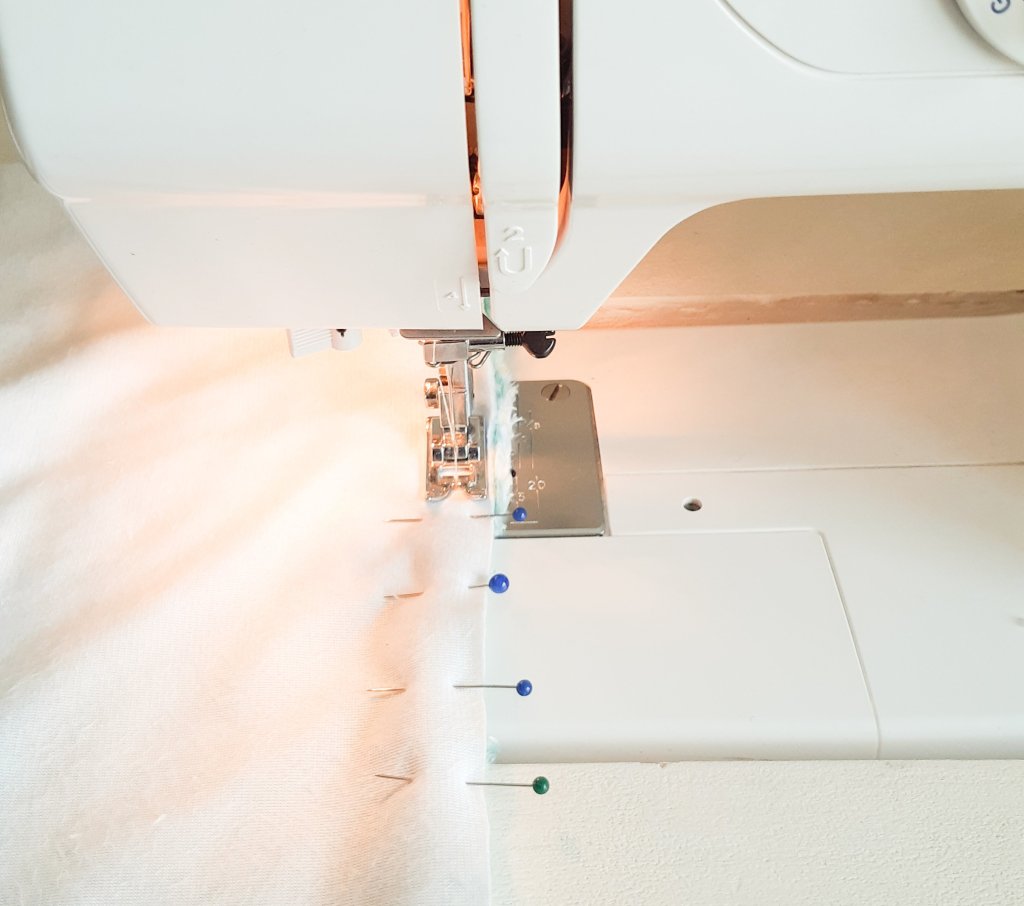
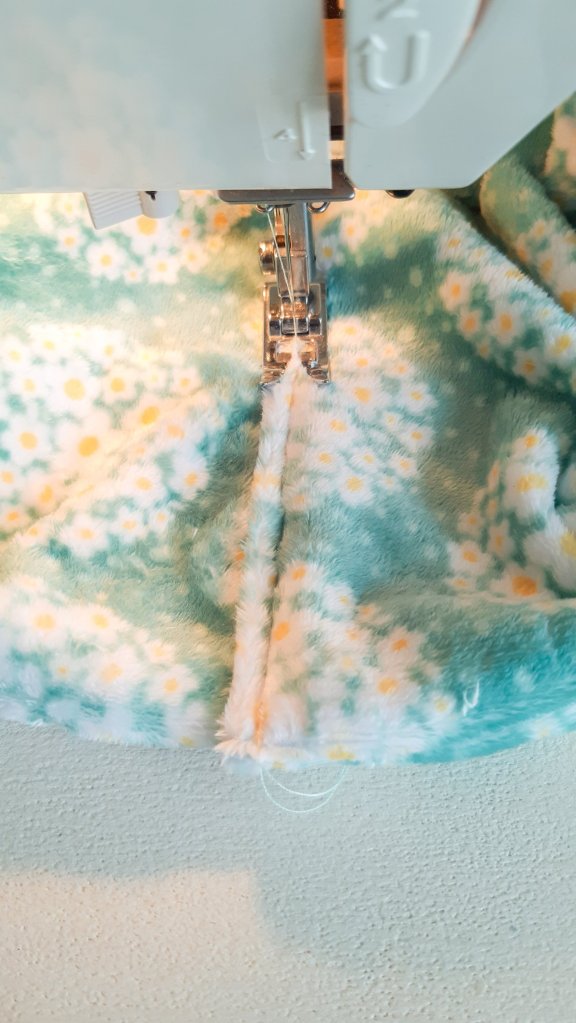
2. Fold fabric lengthways, right sides together and pin along the long edge.

3. Sew using a half inch seam allowance.
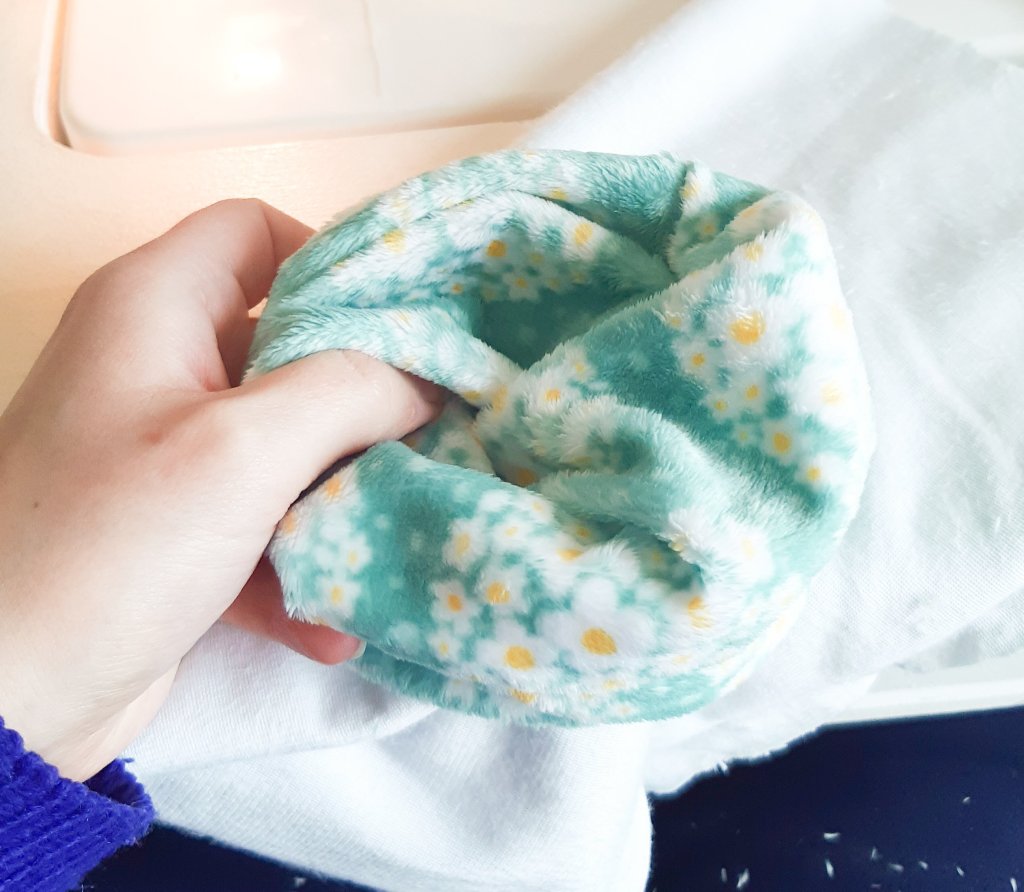
4. Turn the fabric tube right sides out and press.

5. Fold over one short edge by 3/4″ and pin.
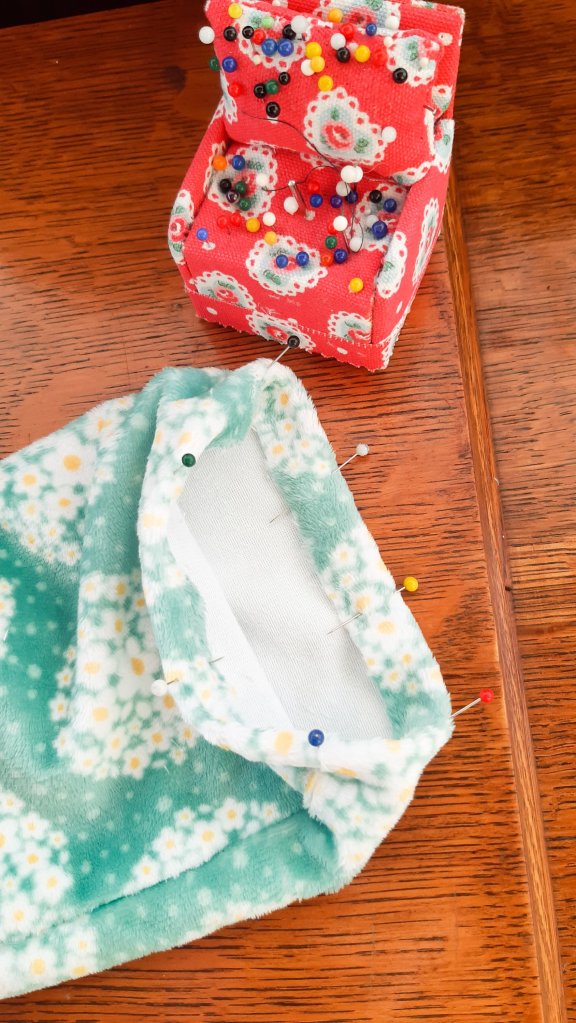
6. Twist the unfinished short edge over once. The seam should be at the top on one short edge and the bottom on the other short edge.
7. Insert the unpinned end into the pinned opening until the two raw edges meet. Pin in place.


8. Sew together neatly by hand or by machine.

9. Move the twist so that the final seam will be at the back of the neck and the twist is under the chin.

This is a great scrap busting project that’s practical too, especially since it’s easier for wee kids to put on independently. It’s also a good starter project if you’re getting back into sewing (because creativity is important too!)

I can’t wait to see your versions of the twist snood! Tag me with yours on Instagram using @kathelle_creatinghome
Kathelle x
Pin it for later